
Section 2: Document Markup
Chapter 13: Tables
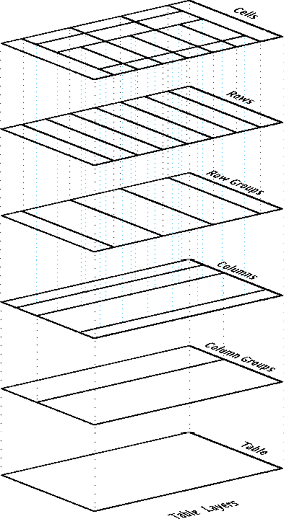
Tables are a method of formatting the content of your page, and are very similar to the concept of a spreadsheet. Tables are composed of rows and columns. Each intersection of the two is referred to as a cell, and is where content is placed. The number of columns and rows you use depends on your need and design.
You will probably find a great number of sites that rely heavily on tables to create the look and feel of their pages. Recognizing I have already admitted to doing this in the past when necessary, I will repeat my earlier statement: Please, do not.
While this was a common method in the past, we now have elements in HTML that are defined for such purposes. Tables should be reserved for creating collections of data or information on your page and nothing else. If you are using them to store information other than how you would in a spreadsheet, you should be using a div or span. Using a table for content organization will create several complications in your code that can be reduced or eliminated by following today’s conventions.
First, the formatting of the table is more closely tied to HTML as it is easier to define there than in CSS. Placing these definitions in our HTML breaks our goal of separation of duties to support a responsive design. If we wanted to change the layout, we would have to edit our HTML instead of just our CSS files. Second, it creates extra lines of code to define the layout we are looking for, and the use of column and divs or spans to adjust for different layouts is cumbersome when it comes to code maintenance and readability. Lastly, we lose a great deal of our ability to reorganize our content in multiple ways when using multiple CSS styles. This means that rearranging the content in a table when we want to print or view the content in a different manner is more difficult, or would require a whole different page to accomplish.
To create a table, we first need to define its beginning and end with tags:
- <table></table>
Next, we can define our heading row by adding our row tags (tr) and nesting dividing tags to represent our columns. Since we want items in this row to be recognized as headings, we use the <th> tag for table heading:
- <table>
- <tr>
- <th>ID</th><th>First Name</th><th>Last Name</th>
- </tr>
- </table>
|
ID |
First Name |
Last Name |
*Dashed border lines in table examples depict table and cell edges that would not be visible without additional code or CSS.
To add content to our table, we repeat the process using <td> (for table division) instead of <th> to represent a regular cell of data. Each repetition will add a new row of data to our table.
To build on our example, we will let the first column also be headings, which will represent each row. To do this we use <th> as the first set of tags in each row. We can add a few names as regular content using table division tags as well:
- <table>
- <tr>
- <th>ID</th><th>First Name</th><th>Last Name</th>
- </tr>
- <tr>
- <th>1</th><td>John</td><td>Doe</td>
- </tr>
- <tr>
- <th>2</th><td>Jane</td><td>Doe</td>
- </tr>
- </table>
|
ID |
First Name |
Last Name |
|
1 |
John |
Doe |
|
2 |
Jane |
Doe |
Spanning
Using tables to separate several smaller pieces of content horizontally within a layout element is still generally accepted, and is easier than styling divs, but it is still considered a less than ideal approach.
As we create more complicated table layouts, we may want to merge some of these fields together. We can create “extra-large” cells by adding colspan and divspan attributes to the dividing tab (th or td). A colspan value of 2, for example, means the cell will fill two horizontal blocks (left to right) of the table. Likewise, a rowspan of two means the cell will fill two row’s worth of space in the column(s) it occupies, as in this example showing staffing for part of a week:
- <table>
- <tr>
- <th>ID</th><th>First Name</th><th>M</th><th>T</th><th>W</th><th>Th</th><th>F</th>
- </tr>
- <tr>
- <th>1</th><td>John</td><td colspan =”2″>work</td><td></td><td rowspan=”2″>closed</td><td></td>
- </tr>
- <tr>
- <th>2</th><td>Jane</td><td></td><td></td><td>work</td><td>work</td>
- </tr>
- </table>
closed
work
work
|
ID |
First Name |
M |
T |
W |
T |
F |
|
1 |
John |
work |
||||
|
2 |
Jane |
|||||
Keep in mind that spans always move from left to right for columns and top to bottom for rows, starting with the cell you place the attribute in. Your values for the span must always be positive, and larger than zero.
While these examples outline where table cell edges are with dotted lines, we can selectively enable these borders through cell attributes and/or through CSS styling. The best approach is to keep these visual changes in CSS, preserving the structure/style separation of duties between our HTML and CSS, making future visual changes easier to maintain.
